How to Convert HEIC to JPG on Google Drive Easily
If your HEIC photos are stored on Google Drive and you want to convert them to JPG, the following guide will show you how to convert HEIC to JPG on the Google Drive platform. Read on to find out how to do it.
Google Drive is one of the popular cloud services available in the market to help you store and retrieve your files. It supports all kinds of files to be stored on it including your photos. Many of the iOS users prefer to store their photos on Google Drive as it allows the users to free-up the memory space occupied by these large-sized photos on your devices.
If you have ever noticed, all the photos that you upload from your iOS device over to Google Drive have HEIC as their file format. Since that is a new file format, not all the devices you use Google Drive on would be able to open these photos.
Therefore, you need to do a HEIC to JPG conversion on Google Drive and the following shows how to do it if that is at all possible.
Is It Possible to Convert HEIC to JPG on Google Drive
Since Google Drive is mainly a cloud storage provider, it does not come with any kind of converters. Therefore, the photos you have in HEIC on the Drive cannot be converted to JPG by the Drive itself. It’s because there is simply no option on the Drive to do it.
What that means is you cannot convert HEIC to JPG on Google Drive directly. However, there is a workaround that lets you do it and we talk more about it in the following section. Check it out to learn how to change HEIC to JPG on your Google Drive account.
How to Convert HEIC to JPG on Google Drive by Using HEIC Converter
Since conversion is where you are stuck, what you can do is you can use a FREE HEIC converter to convert your photos from HEIC to JPG and then upload them to your Drive account. It is easy, takes only a few minutes, and makes all of your HEIC photos available in the JPG format.
iMobie HEIC Converter is a nice little web-based app that lets you convert your HEIC files to the JPG format. It works in your browser, supports drag and drop, can preserve EXIF data, and has image quality options as well. The following is how you use it to convert your files.
Step 1. Head over to the Google Drive website and log-in to your account if you are not already.
Step 2. Select the HEIC photo you would like to convert to JPG, right-click on the photo, and select the option that says Download. It will download the photo to your computer.

Download HEIC Photos from Google Drive
Step 3. Launch a new tab in your browser and head over to the iMobie HEIC Converter website. Once there, click on the button that says Click to Select and upload your HEIC file.
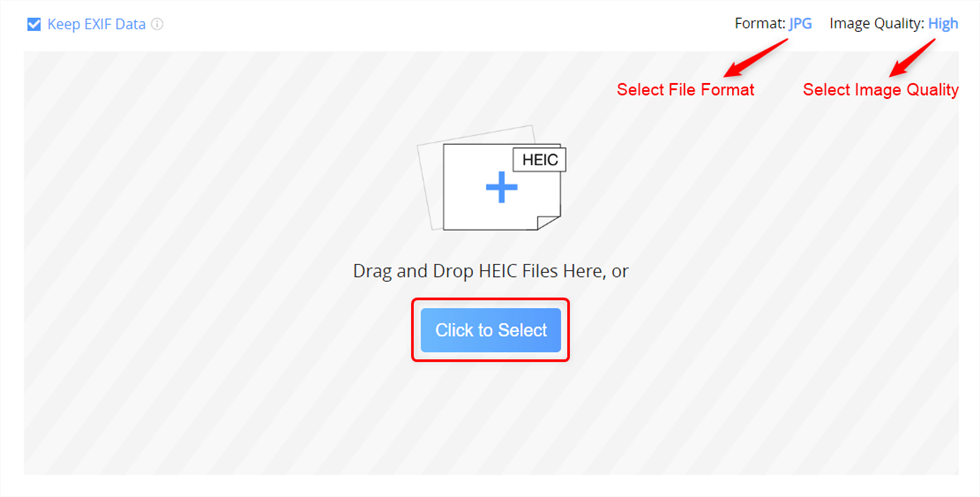
Convert HEIC Photos to JPG Using iMobie HEIC Converter
Step 4. Select the Keep EXIF Data option if you would like to keep the EXIF data. Then, select an option from the Image Quality menu.
Step 5. When the photo is converted to JPG, download the converted photo to your computer.
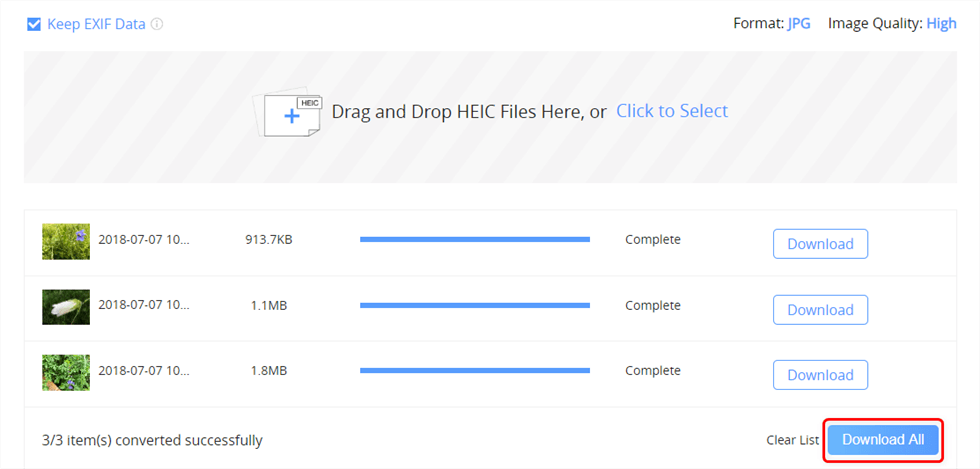
Download Converted Photos to the Computer
Step 6. Open the Google Drive website, click on the New button, and choose the option that says File upload. Upload your JPG file to the Drive.
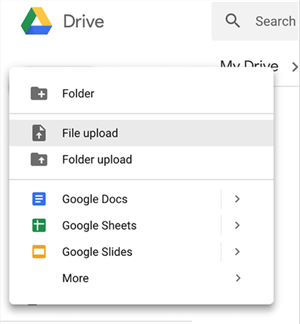
Upload Converted Photos to Google Drive
That’s all. Your HEIC photo should now be available in the JPG format in your Google Drive account. You can do it for as many of your photos as you want.
The Bottom Line
If you use Google Drive to store photos captured on your iOS devices, our guide above will teach you how to convert those iOS HEIC photos to the JPG format on the Drive. We hope it helps you with your task.
More Related Articles

Popular Articles & Tips You May Like


A writer for iMobie, has been covering iOS, Mac, and Android related How-to Articles / Apps Reviews for 5+ years. Like sharing something about data transferring & recovering knowledge.

iMobie HEIC Converter
FREE & Simple Tool to Convert Any HEIC File to JPG in 3-Step:
- * 100% Free & Safe
Hot & Trending
 HEIC Photos Won’t Upload on My Windows – Here Are the Fixes
 How to Fix Can’t Import HEIC Photos to Mac with the Most Practical Method
 How to Download HEIC Photos as JPG in Google Photos
 How to Open HEIC Files in Photoshop
 How to Open and View HEIC File on Android
 The Best 5 Free HEIC Viewer for Windows and Mac